So, you’re looking to create an employee directory in SharePoint? Great choice! A well-designed employee directory intranet can transform how your team connects, collaborates, and stays informed. This guide will walk you through the process, step-by-step, from the ground up. We’ll cover everything from setting up your SharePoint site to adding those all-important profile pictures. We’ll also discuss the challenges of maintaining a manual directory and how a streamlined solution can save you time and effort.
Why Use an Employee Directory?
Before we dive in, let’s quickly recap why an employee directory intranet is so valuable:
- Improved Discovery: Quickly find colleagues, understand their roles, and locate experts for specific tasks.
- Better Onboarding: New hires gain immediate insight into the company structure and key contacts.
- Centralized Information: A single source of truth for employee data, ensuring accuracy and consistency.
- Enhanced Collaboration: Facilitates connections between employees who might not otherwise interact.
- Stronger Company Culture: Helps employees feel more connected and informed about their colleagues.
Key Benefits:
- Increased efficiency in finding the right people.
- Improved communication and collaboration across teams.
- Enhanced onboarding experience for new employees.
- A more connected and engaged workforce.
Step-by-Step Guide: Building Your SharePoint Employee Directory
Here’s a detailed walkthrough of how to create your own SharePoint employee directory with pictures:
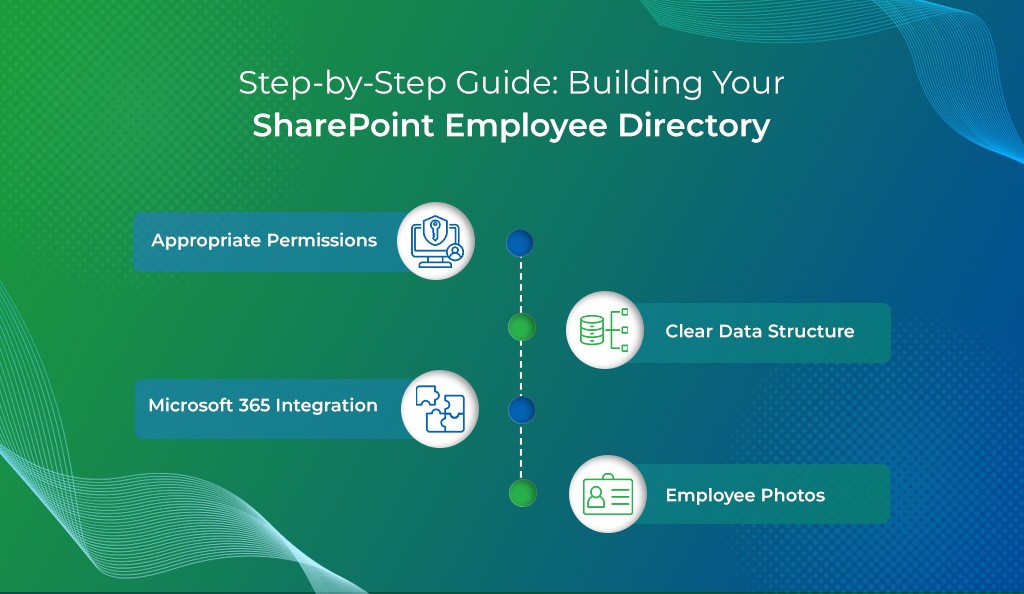
Prerequisites & Preparation
Before starting, make sure you have:
- Appropriate Permissions: You’ll need SharePoint admin rights or collaboration with your organization’s IT team.
- Microsoft 365 Integration: Confirm that your Microsoft 365 user profiles (in Azure Active Directory) are up-to-date. SharePoint often leverages these profiles for the directory. Check Microsoft’s official Azure Active Directory documentation for details on updating and managing user profiles.
- Clear Data Structure: Decide which attributes you want to display – names, job titles, departments, locations, contact details, skills, etc. Consider what information is most relevant for your organization.
- Employee Photos: Gather employee photos. Ensure they are consistently sized and formatted for a professional look.
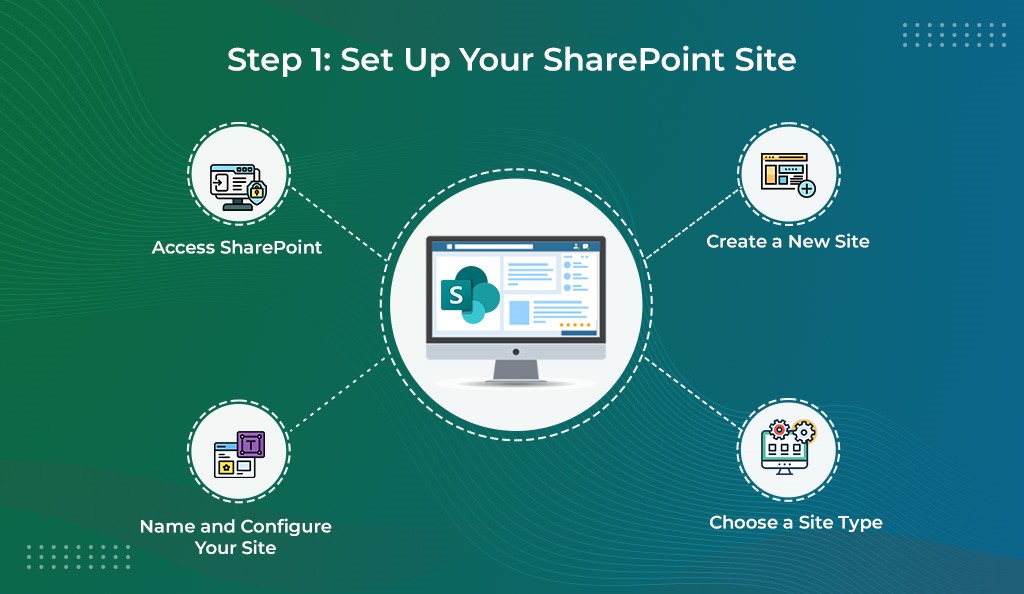
Step 1: Set Up Your SharePoint Site
(Note: If you already have a SharePoint site, you can skip this step.)
1. Access SharePoint: Log into your SharePoint account and navigate to the SharePoint home page.
2. Create a New Site: Click on the “Create site” button.
3. Choose a Site Type: Choose between a Team site or a Communication site. For an employee directory, a Communication site might be more suitable for broadcasting information. Refer to Microsoft’s Create a site documentation for detailed instructions.
4. Name and Configure Your Site: Follow the prompts to name your site, set privacy settings, and add users to your SharePoint site.
Step 2: Create a List for Your Employee Information
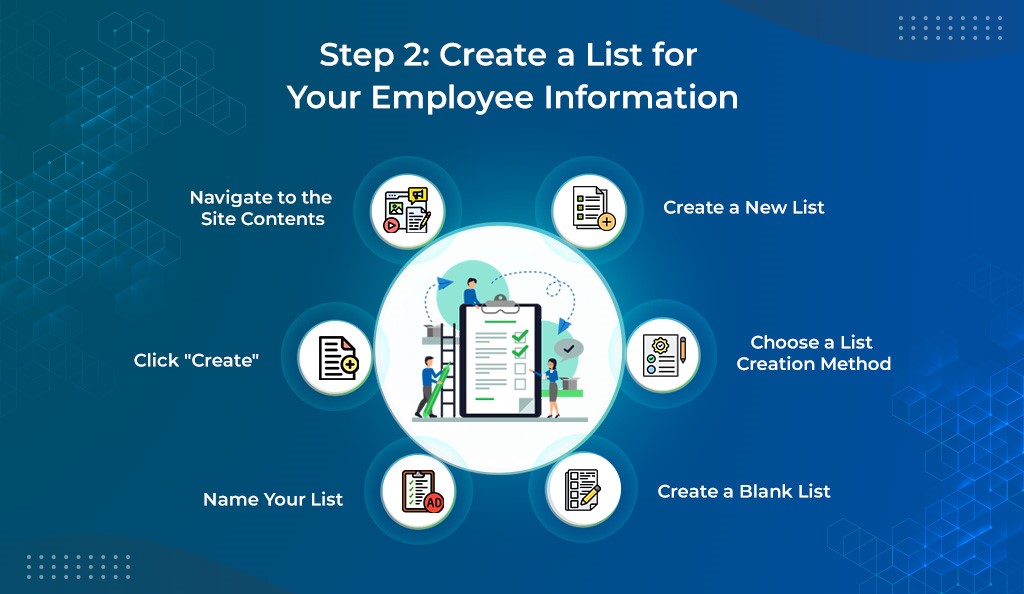
Navigate to the Site Contents: From your site, click on the gear icon (settings) in the top right corner and select “Site contents.”
1. Create a New List: Click on the “New” button and select “List.”
2. Choose a List Creation Method: You can choose the following options to create a new list: ‘Blank list’, ‘From existing list’, ‘From Excel’, or ‘From CSV’. If you already have your employee user data in an Excel spreadsheet or CSV file, then choose one of these options and go to Step 5.
3. Create a Blank List: To create your employee list from scratch, choose ‘Blank list.’
4. Name Your List: Next, name your list (e.g., “Employee Directory”) and add a description. Make sure the ‘Show in site navigation’ is ticked.
5. Click “Create.”
Step 3: Customize the List Columns
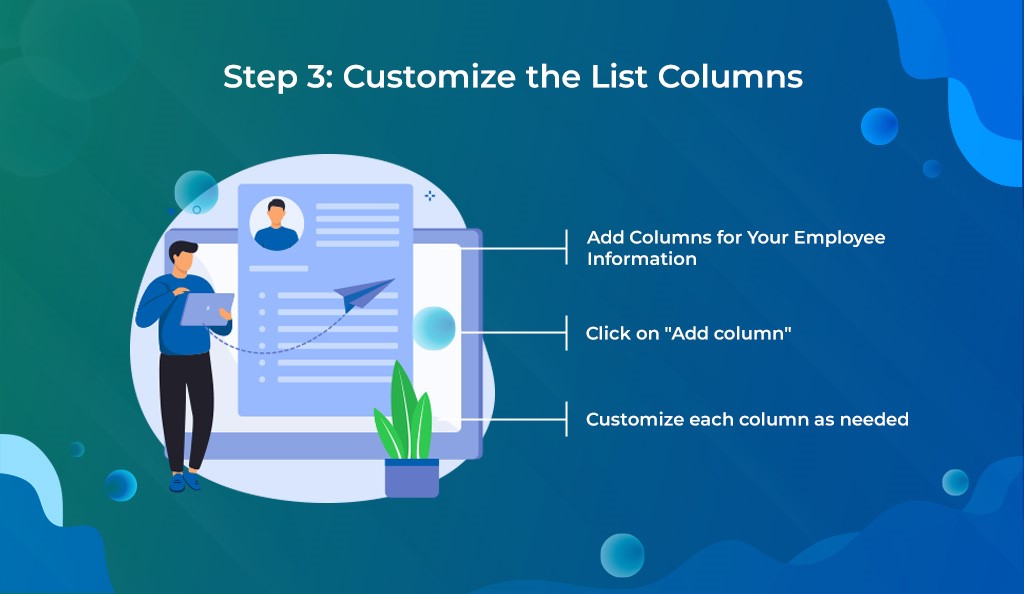
- Add Columns for Your Employee Information: Open your newly created list.
- Click on “Add column” to add the necessary fields for your employee directory.
Typical fields include:
- First Name (Single line of text)
- Last Name (Single line of text)
- Job Title (Single line of text)
- Department (Choice)
- Email (Single line of text)
- Office Location (Choice)
- Phone Number (Number)
- Address (Location)
- Hire Date (Date and time)
- Profile Picture (Hyperlink or Picture column type) – We’ll discuss this in detail below.
- Skills (Choice – Allow multiple selections)
- Reporting Manager (Person or Group)
Customize each column as needed (e.g., set data types, required fields). You can drag columns in the order you would like them to show.
Step 4: Populate Your SharePoint List with Your Employee Data
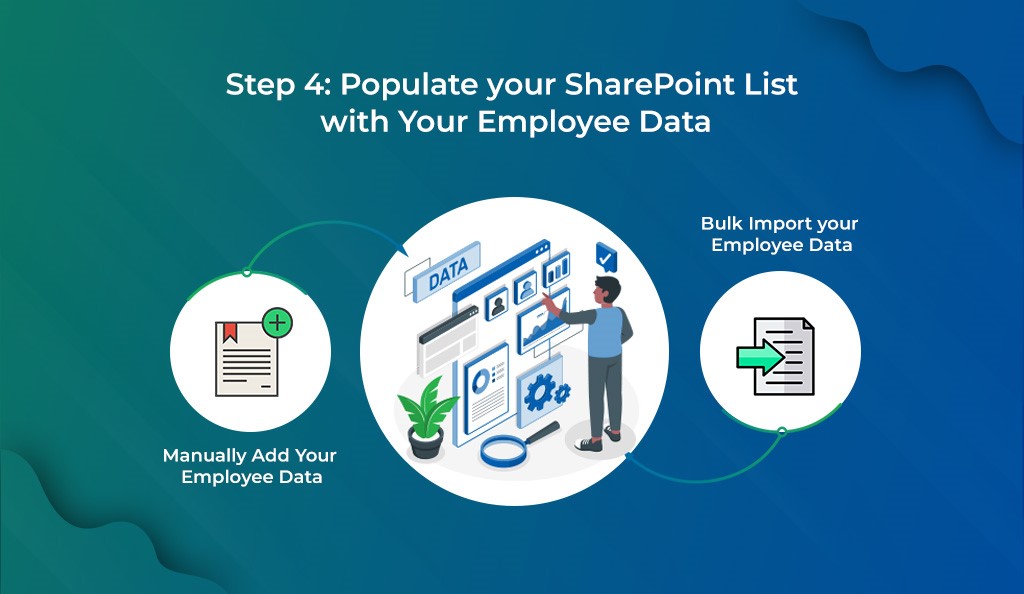
1. Manually Add Your Employee Data:
- Click “New” to add employee information manually.
- Fill out the form with the employee details and save.
2. Bulk Import your Employee Data:
- Prepare your data in an Excel file with columns matching your SharePoint list.
- In your SharePoint list, click on “Edit in Grid view” to enable bulk editing.
- Copy data from your Excel file and paste it into the SharePoint list grid view.
Step 5: Adding Employee Pictures
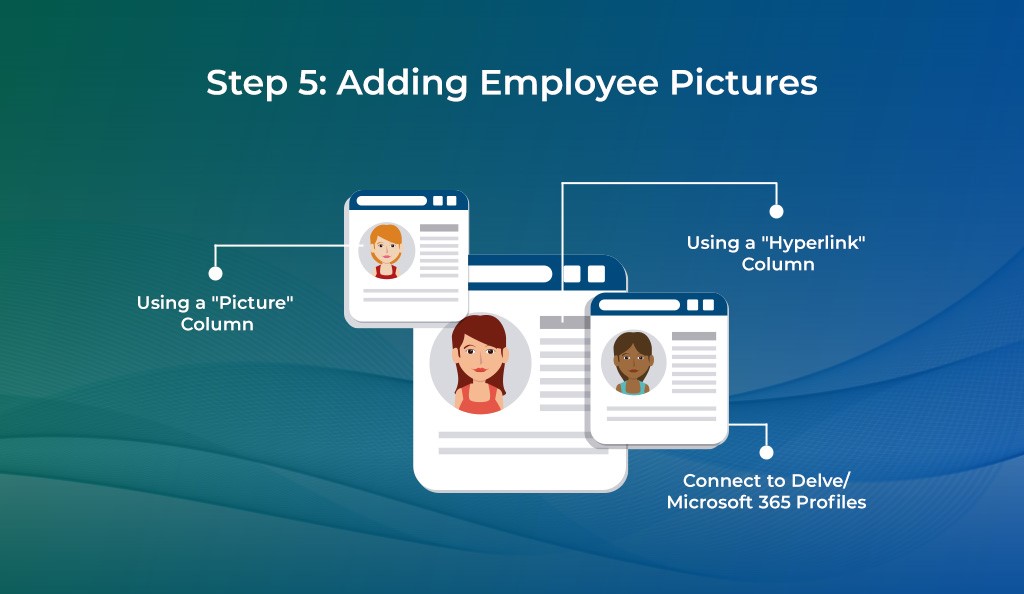
This is where the ‘sharepoint employee directory with pictures’ really comes to life! There are a few ways to handle employee photos:
- Option 1: Using a “Picture” Column: SharePoint offers a “Picture” column type. However, this can sometimes be less flexible in terms of sizing and placement.
- Option 2: Using a “Hyperlink” Column: A more common approach is to use a “Hyperlink” column. You would then upload the employee’s photo to a SharePoint library (e.g., a library called “Employee Photos”) and paste the URL of the photo into the Hyperlink column for each employee. This gives you more control over the image.
- Option 3: Connect to Delve/Microsoft 365 Profiles: If your organization has already populated profile pictures in Microsoft 365 (Delve), you can try to connect to those. However, this often requires some custom coding or Power Automate flows, and the results can be inconsistent. Delve is now retired so this option is not recommended.
Step 6: Create a Custom View
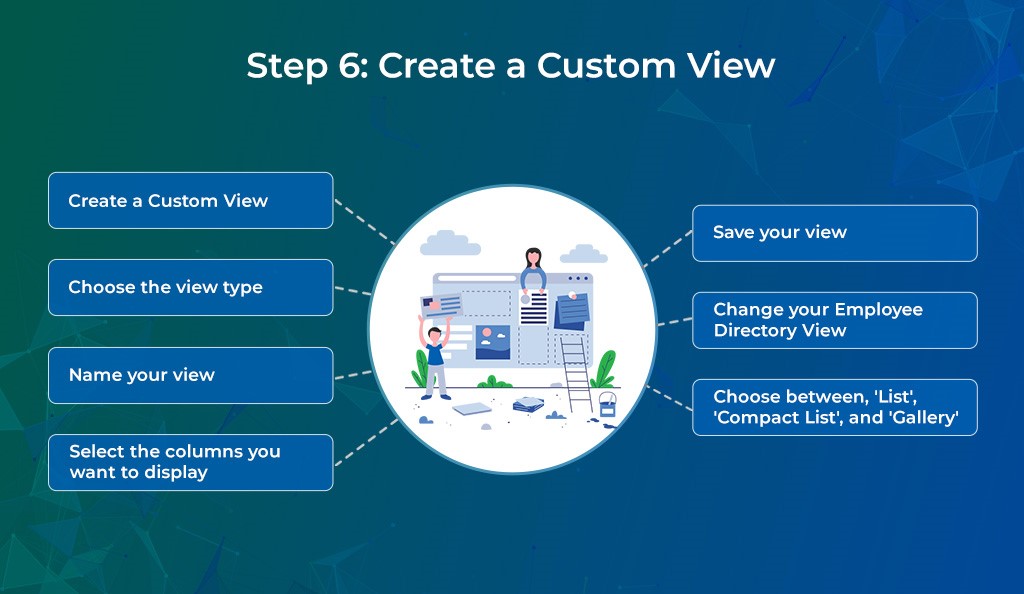
Create a Custom View: Click on the “All items” dropdown (or the name of your current view) and select “Create new view.”
1. Choose the view type (List View is common).
2. Name your view (e.g., “Employee Directory View”).
3. Select the columns you want to display and set the sort order (e.g., alphabetically by last name).
4. Save your view.
5. Change your Employee Directory View Click on your new view (e.g., “Employee Directory View”).
6. You can now choose between, ‘List’, ‘Compact List’, and ‘Gallery’
Step 7: Design Your Employee Directory Page

1. Create a Page for Your Employee Directory: Go to your site’s homepage.
2. Click on “New” and select “Page.”
3. Choose a layout for your page (e.g., blank, one column).
4. Add Web Parts: Click on the “+” sign to add a web part.
5. Add the “List” web part and select your Employee Directory list.
6. Customize the display settings of the web part as needed (e.g., view, number of items to show).
7. Add a Filter Web Part: To make it easier for users to find specific employees, add a “Filter” web part and connect it to your Employee Directory list. This will allow users to filter by department, location, or other relevant criteria.
Step 8: Publish Your SharePoint Employee Directory

1. Save and Publish: After customizing your page, click on “Save as draft” to save your progress.
2. Click on “Publish” to make the directory accessible to your organization.
Step 9: Manage Permissions
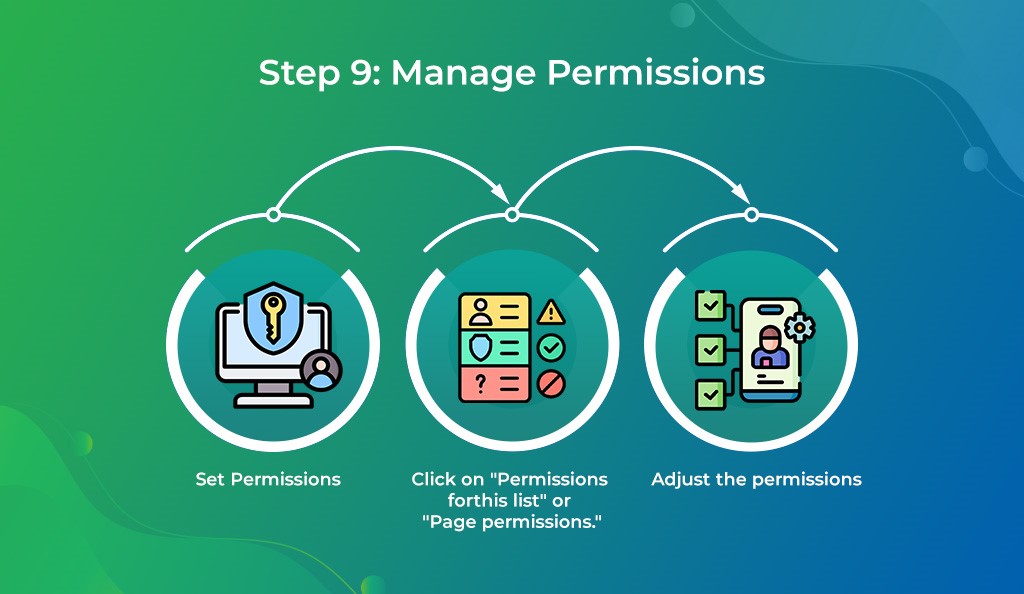
1. Set Permissions: Go to your list or page settings.
2. Click on “Permissions for this list” or “Page permissions.”
3. Adjust the permissions to control who can view or edit the directory.
Maintaining & Updating Your SharePoint Directory
A SharePoint Employee Directory isn’t “set it and forget it.” Keep it accurate and up-to-date:
- Periodic Data Refresh: Review and sync with Active Directory data monthly or quarterly.
- Encourage Profile Updates: Prompt employees to update their profiles, ensuring their job titles, departments, and contact details remain current.
- Monitor Usage & Feedback: Use SharePoint Analytics or Microsoft 365 usage reports to see how often the directory is accessed. Solicit feedback periodically and refine the experience.
Challenges to Maintaining the Employee Directory
While the above steps outline how to create an ‘employee directory in sharepoint’, the real challenge lies in maintaining it. Here are some common pain points:
- Manual Data Entry: Entering and updating employee information manually is time-consuming and prone to errors.
- Data Inconsistencies: Information can become outdated quickly, leading to inconsistencies and inaccuracies.
- Limited Search Functionality: SharePoint’s built-in search may not be as robust as you need, making it difficult for users to find specific employees.
- Lack of Automation: There’s no built-in way to automatically sync with your HR system or Active Directory, requiring manual intervention.
- Mobile Un-Friendly: Ensuring the directory looks and functions well on all devices can be challenging.
How Beyond Intranet Creates an Automated Employee Directory Seamlessly
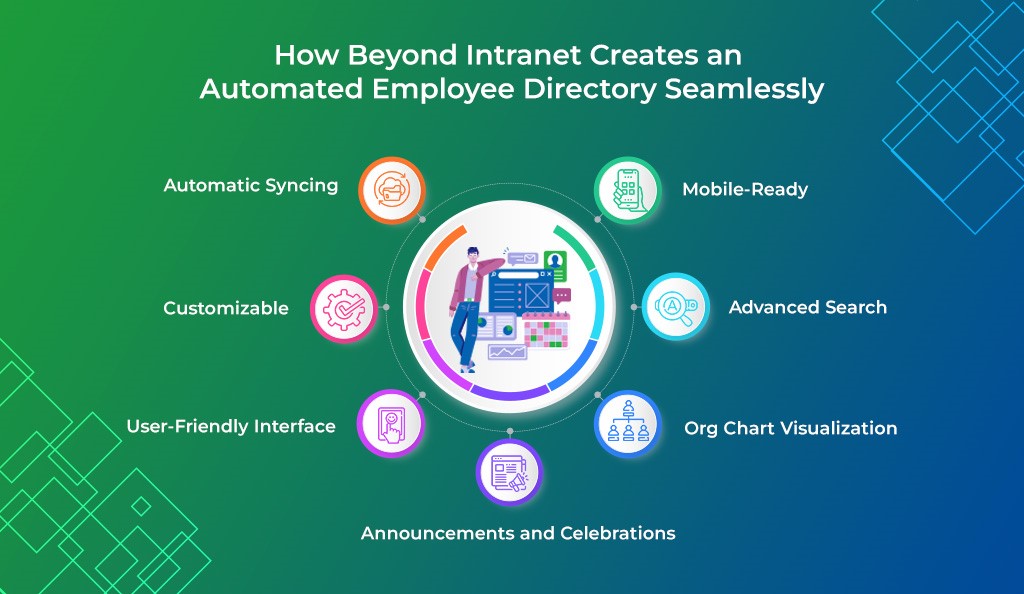
Imagine a world where your ‘sharepoint employee directory template’ updates automatically, ensuring accuracy and saving you countless hours of manual work. That’s where Beyond Intranet comes in.
Our SharePoint Employee Directory Software offers a seamless and automated solution:
- Automatic Syncing: Integrates directly with your HR system or Active Directory to automatically sync employee data.
- Advanced Search: Provides powerful search capabilities, allowing users to quickly find employees by name, skill, department, location, and more.
- User-Friendly Interface: Offers a clean, modern, and intuitive interface that employees will love to use.
- Mobile-Ready: Works seamlessly on all devices, ensuring employees can access the directory from anywhere.
- Customizable: Allows you to customize the directory to match your company’s branding and specific needs.
- Org Chart Visualization: Provides a clear visual representation of your company’s organizational structure.
- Announcements and Celebrations: Keeps employees informed about birthdays, anniversaries, and new hires.
Ready to Say Goodbye to Manual Data Entry?
Creating an ‘employee directory in sharepoint’ can be a valuable asset for your organization. However, the manual approach can be time-consuming and challenging to maintain.
If you’re looking for a more efficient, automated, and user-friendly solution, Beyond Intranet’s SharePoint Employee Directory Software is the perfect choice.
We’ve helped countless organizations transform their employee directories into powerful communication and collaboration hubs.
Want to see how Beyond Intranet can streamline your employee directory and save you time and effort?
Explore Our Features: Employee Directory Features Page
If you are interested in exploring the features of Beyond Intranet, book a free demo with us, and we will be happy to show you how to create an automated employee directory seamlessly.
Book a Free Demo
Conclusion:
Building a sharepoint employee directory template is a worthwhile endeavor, but it’s important to be aware of the challenges involved in maintaining it manually. By leveraging a solution like Beyond Intranet’s SharePoint Employee Directory Software & App, you can automate the process, ensure data accuracy, and create a truly valuable resource for your employees.